PS制作質感的金屬立體字
- 2021-05-21 21:07:58
- 來源/作者:互聯網/佚名
- 己被圍觀次
本教程主要使用Photoshop制作質感的金屬立體字。下面一起來學習吧。
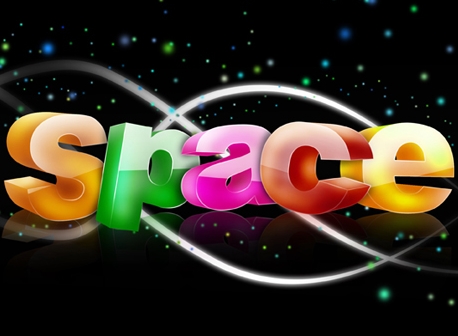
最終效果預覽

Tutorial Details
Program: Adobe Photoshop CS3+
Difficulty: Beginner
Estimated Completion Time: 30 Minutes
Step 1
Make a new .PSD document, size 600 x 450 pixels, RGB color, 72 dpi and transparent background. Paint the new layer with black color (press Alt + Backspace key to use the foreground color of PS toolbar). Now we will create a layer style based on a gradient that will include several grey tones, with a bright area to simulate a metallic car door.
新建一個600px × 450px的文檔,把背景填充圖層填充為黑色。然后創建一個圖層樣式通過漸變疊加來模擬金屬車門的效果。

Step 2
We will add Color Overlay in Multiply Blend mode using color #990000. But we can later give the car the color we wish.
在圖層樣式里添加顏色疊加,混合模式為正片疊底,色值為#990000。

(責任編輯:極限)
???????
*PSjia.COM 傾力出品,轉載請注明來自PS家園網(m.sz-xdd.com.cn)
上一篇:PS制作金屬質感文字效果
下一篇:PS制作夢幻的藍色浮雕字教程
更多精彩內容
-
 PS創意字體效果制作:水與火之“S”
 -
 PHOTOSHOP制作金屬質感文字效果教程
 -
 淘寶美工常用的字體大全
 -
 ps 制作投影的3D立體文字
 -
 Photoshop制作藍紫色漸變的3D立體文字
 -
 詳細解析中文字體設計的創意造字法
 -
 PS立體字新手入門教程
 -
 字體設計、排版竅門