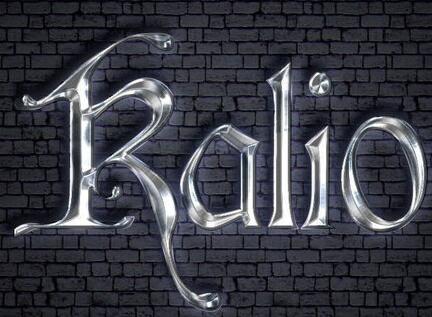
PS制作質(zhì)感的金屬立體字
- 2021-05-21 21:07:58
- 來源/作者:互聯(lián)網(wǎng)/佚名
- 己被圍觀次
本教程主要使用Photoshop制作質(zhì)感的金屬立體字。下面一起來學(xué)習(xí)吧。
Step 8
Now we will work on the bevel of this badge with the values for Bevel and Emboss and Outer Glow you can see in this picture. The idea is to add the chrome effect to the bevel of the object. You can choose the angle and color tones that better help you create this effect.
對分離出來的描邊圖層添加以下圖層樣式。

Step 9
Now we will create the black plastic base that these badges have in the back, which is the area that is stick to the car. Duplicate the text layer and Clear its layer styles. We will use a very hard Drop Shadow little bigger than the text and lightly moved towards down, using color #202020. Repeat Step 05 to separate this style in a new layer.
復(fù)制文字圖層并將之前創(chuàng)建的圖層樣式刪除,重新添加以下圖層樣式。然后重復(fù)第5步的動作,把圖層樣式分離到新圖層。

Step 10
This must create a 3D effect that we will add more layer styles to give some embossed effect to this new element. We will give a Bevel and Emboss effect to this layer as well for it to have a tridimensional look. Then add a Drop Shadow that simulates the shadow of the badge projected on the vehicle.
再對分離出的樣式圖層添加以下圖層樣式。

Step 11
Always using the same editable 4×4 text, we will now create a mask using a selection with a 3 pixels feather.
將第9步復(fù)制出的文字圖層填充白色,選擇矩形選區(qū)工具創(chuàng)建如圖所示的選區(qū)并羽化3個像素,對文字圖層添加圖層蒙版,如圖所示。

(責(zé)任編輯:極限)
???????
*PSjia.COM 傾力出品,轉(zhuǎn)載請注明來自PS家園網(wǎng)(m.sz-xdd.com.cn)


